
Windows 7/8/10: 2 Tricks To Solve Network Connection Errors
How uncool is it to try to connect your computer to a network, to enjoy the last episode of our favourite series for example, and failing to do so, especially when there is no appearant reason for this problem. Two kinds of situations apply in this case in general: either your computer can’t find the Wi-Fi connection, or else it finds it but can’t connect to it. Here are a couple of tricks you can do to try to solve these errors.
How To Fix A “Can’t Find Wi-Fi Connection” Error?
There are several problems that can lead your computer to not detect a network connection. It usually comes from an issue with the Wi-Fi card but there doesn’t seem to be any particular reason nor any specific user activity that triggers these detection problems. Following is how to solve Wi-Fi connection detecting issues on Windows computers.
First, check the Wi-Fi Icon in your quick launch bar. It should show a little red cross on it. If not, the problem probably doesn’t come from a detection issue but something else, like a connection problem, that we will learn how to solve later in this post. So, back to our red crossed Wi-Fi icon: if you click on it, the list of wireless networks will open and it should look empty, showing no Wi-Fi connection in the list.
If this is your case, here are the steps to follow in order to reset your Wi-Fi Card:
- Open the “Device Manager” on your laptop (press Windows button + search “Device Manager” in the search bar).
- Go to “Network Adapters” and open its drop down menu.
- Right click the “Network Adapter” (its usually named something including the term “Wireless”)
- Uninstall it.
- A pop-up window should appear: make sure to keep the “Delete Drivers” box unchecked.
Well done, you just uninstalled your Wireless Network Card. Now let’s reboot it:
- Go to top left of the menu bar and click on the “Search for Changes” button (or “Scan for Changes”, according to your version of Windows).
This will automatically detect any changes in hardware, reset default configurations and reconnect to your already present drivers. Your laptop should now be able to connect instantly to any network available nearby.
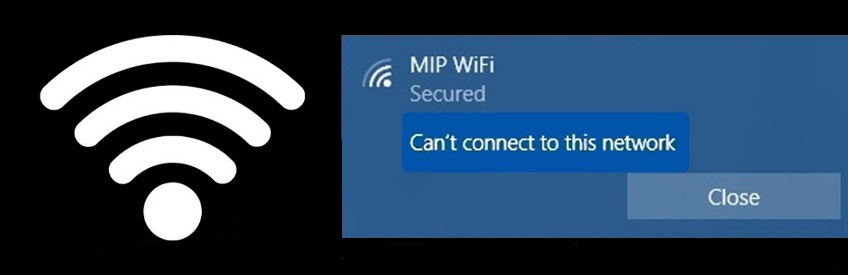
How To Solve A “Can’t Connect To This Network” Problem?
This issue is quite common in Windows operating systems, especially if you have just upgraded to Windows 10. It generally occurs when two networks are configured under the same name but with different passwords: the two network SSID’s are conflicting and your Wi-Fi card will try to connect to one of the network but still using the password of the other. What makes a “Can’t connect to this network” error tricky to solve is that it usually doesn’t even open any wireless connection error window. The following steps will help you to solve both of these issues.
We will show you how to get rid of your network SSID’s and reconnect to your wireless network freshly:
- Press on Windows button and search for “Change Wi-Fi Settings” (Windows 8/10) or “Networks and Sharing” (Windows 7).
- Click on the “Manage Wi-fi Settings” link at the bottom of your networks list.
- Find the network you are currently trying to connect to.
The list include all the wireless networks you have connected to so far with this operating system, so be patient, it might be a long one. Once you found the network you are trying to connect to:
- Click on it to expand options.
- Select “Forget This Network”.
This should clean the wireless connection memory that caused our issue: if you go back on the previous page and click on your network name again, you should be able to enter your network security key or password and your computer should connect on the network instantly.
We hope this post helped you solve any wireless connection issues on your Windows computers. Now you can enjoy the internet as much as you want!