
How to Fix a “DNS Server Not Responding” Problem
The DNS (Domain Name System) is the part of your computer that translates hosts’ domain names into IP addresses. A domain is what you type on a search bar to access a website, e.g., www.domainname.com. An IP address is the numeric interpretation of the domain address that the internet reads to take you to the website page you desire to visit.
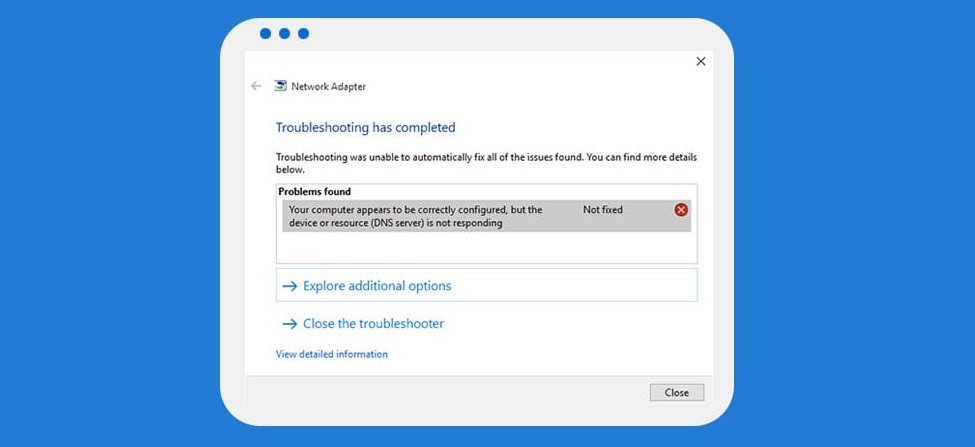
What to Do if Your DNS Server is Not Responding?
If the DNS were not available, accessing the internet would have been more complicated since you would have to know the IP address of every site you wish to visit. However, thanks to the DNS you do not have to see the IP address to access the internet. This is why when the DNS is not responding; you will not be able to access the internet.
Other than the DNS not responding error, you might see a DNS not found, DNS not available or DNS is not responding error. When the DNS server is not being found, this means that the website’s link has expired or the host’s database was deleted.
When the DNS server is not available, this means that it is completely down and the host is no longer in business. If the server is not working, then your computer has a corrupt server.
There are several ways to help solve a DNS not responding error. Here are some that you may be able to apply.
Replace the DNS server
Google offers a public DNS server which is free and available to internet users all over the world. Google manages the server and to use it you will have to replace your server manually. To do this, visit your network connections settings by right-clicking the start menu and choosing ‘Network connections’ for a Windows computer.
On the network connects or network and internet window choose the type of connections you are using and go to ‘change adapter options.’ Right-click the ‘change adapter options,’ select properties then Internet Version Protocol 4 or IvP4/TCP then properties again.
In the IPv4 properties window, choose ‘use the following DNS server addresses’ and enter 8.8.8.8 for the preferred DNS server and 8.8.4.4 for the alternate DNS server then click OK.
Disable IPv6 in your computer
Another way to solve a DNS issue is by disabling an IPv6 in your Windows computer. This is a recent Internet Protocol that was made to solve the problem of IPv4 address exhaustion. To disable an IPv6, go to the Network and Internet window as we did above and choose your network connection, say Ethernet.
Select properties in your connection status and IPv6 then uncheck it to disable it and click OK.
Sometimes the problem that causes your DNS server not to respond may be a temporary downtime on your router. This may be the case in both a Windows and Mac computer. In such cases, switch your router off then on again in about a minute. Next, restart your computer and try connecting it to the internet. The simple restarting your router should be the solution, and you should be able to access the internet as usual.
How to fix a DNS error on a Mac Manually
Go to system preference and open the network pane. Here, select the network connection in the left list and choose Advanced then DNS. On this field, you will see a list of IP addresses. The ones in black are enabled while the gray ones are disabled. Disable the enabled ones by selecting them and clicking the minus sign individually.
Click the plus button and add 208.67.222.220. Click the plus button again and add 208.67.222.222. By doing this, you are adding a free DNS which is usually more reliable than the default one. Finish by clicking OK and then apply.
How to solve a DNS error on an Android
DNS settings on an Android phone are usually in default. Most of the time, default settings are not often the best and may even cause your phone to operate much slower than you would prefer. For an Android phone, you will need a special DNS application to change these settings.
The DNS applications can be downloaded from Play Store or directly from the internet. However, be careful not to download a Malware in the name of a DNS application. The most recommended applications are DNS Changer and DNSet.
After you have downloaded the application, root your phone to change the DNS settings; otherwise, you will not be able to change them. Some apps allow you to change Wi-Fi server details alone while for some you can change both for the Wi-Fi and data connections.
Fix DNS issue for IOS
Choose the Wi-Fi network you would like to use after you have turned on Wi-Fi on your IOS. Look for a circle with an ‘i’ in the center and select it. After you have done this, tap on the text field next to the DNS label. This is where you enter the DNS address which will save automatically.
The above guidelines should be able to help you solve the ‘DNS not responding’ issue. However, for an Android, the default DNS settings help control your data consumption levels. If you are using Wi-Fi, following the procedure above will help you speed up your internet connection.